How to Make Koji 3: Preparing Your Substrate
Last October, American food professionals visited fermented food producers to deepen their knowledge of Japanese fermentation culture during the “Hakko Tourism in Japan” tour campaign. As part of the tour, organizers held a tasting session where guests gave candid advice from the perspective of the American market to food product manufacturers looking to enter the United States market.
If you have read my previous articles, you are almost ready to try making your koji! The rest of the items are rather easy to obtain, so let’s get them as we go together. In this article, I talk about how to prepare your substrate. Let’s say you find your ideal rice. The first thing to do is to rinse it. By washing the rice thoroughly, the bran on the surface is cleaned off. Wash the rice by hand while changing the water several times, and when the water becomes less cloudy, rinsing is done.
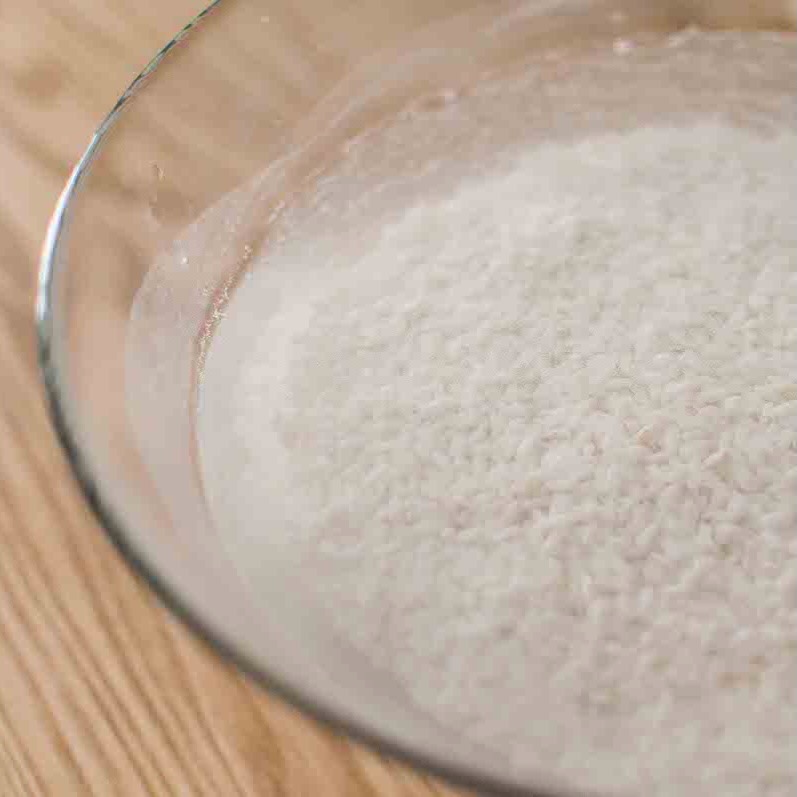
Once the rice is washed, then you steep it in a plenty of water overnight. How many hours precisely? This depends on the type of rice and temperature of water (generally cold water is preferred as warm water may make the rice grain crack when draining). The good news is that you can always check the hydration by your fingers. Japanese koji making is full of this kind of classic tips that only requires your body.
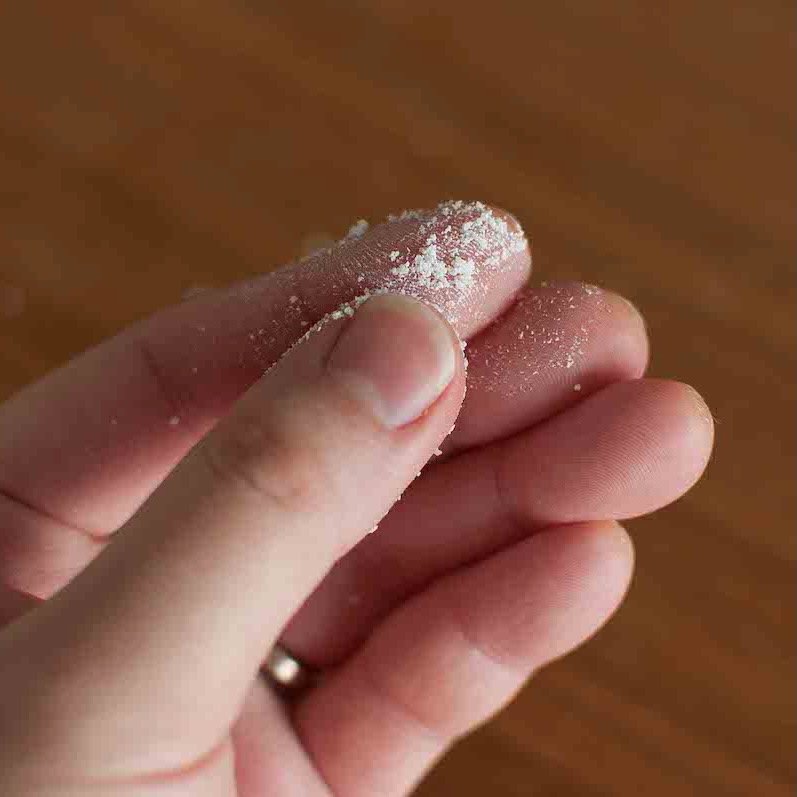
Pick up several grains from the water. Wipe off the surface and squish the grains between your fingertips. Did it turn into rice flour? Then the rice is hydrated enough. If it does not turn into flour and fine bead-like particles remain on the fingertips, extend the soaking time. This way of checking the hydration is called “kashi” check.
Now you are ready to steam your rice! In Japan, we often use “waseiro”, a Japanese style wooden steamer, but you can use anything to replace it. Either a Chinese bamboo steamer, a stainless steamer, or a combination of colander and a pot. Important is to cook the rice “gaiko-nainan”, which means the grain is soft inside and non-sticky on the outside. This is ideal for koji making, as the inoculation of tane-koji starter is easily done by dispersing the spore to every single grain of rice, and mycelia are able to penetrate into the center of the grain.
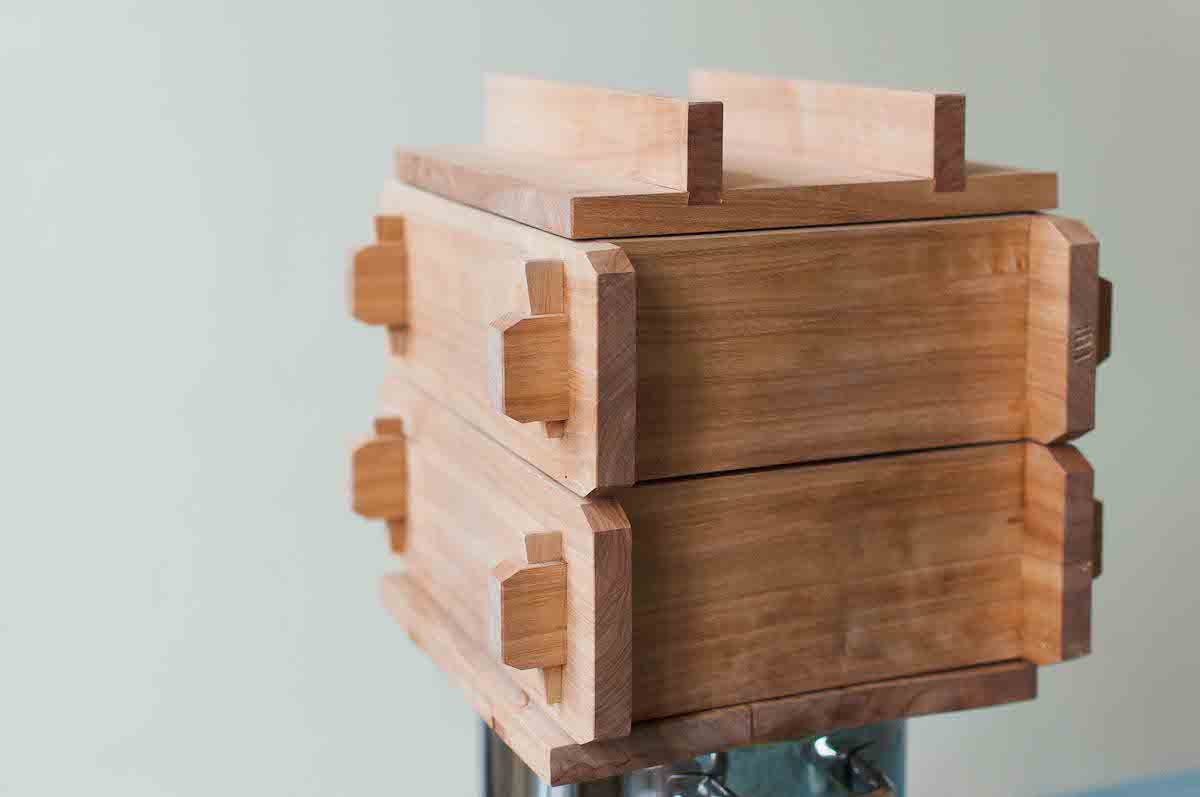
When using a stainless steamer, line the bottom with a cloth. This will ensure the optimal humidity inside the steamer, making sure the bottom of the rice is not going to get too wet. Same way, you wouldn’t want to fill up the pot underneath with no more than half full of boiling water.

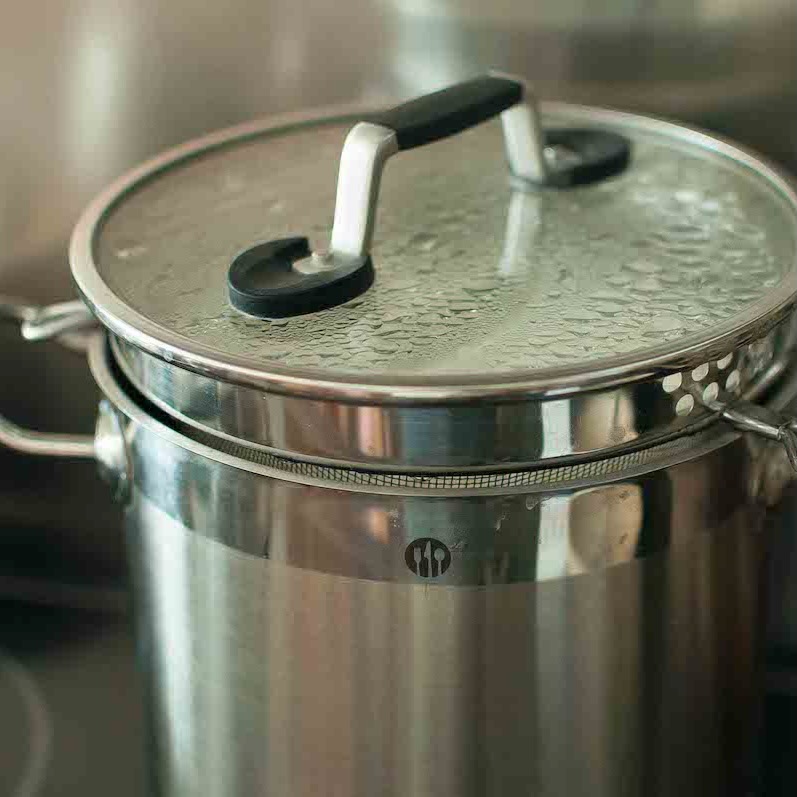
Next goal is to achieve gaiko-nainan. The steaming time could be 40 minutes to 2 hours (!), depending on how “difficult” your rice is. If you don’t achieve a softly steamed rice, you may want to consider changing the variety.
The important is to check the texture of the rice rather than checking the steaming time, and you can do so by taking some steamed rice from different parts of the surface and try kneading them into a stretchy mini rice cake.
This mini rice cake is called “hinerimochi”. If you can stretch it it’s ready. If your finger feels a hardness, steam longer. Koji fungus like to start growing where there is enough moisture. This moisture, you cannot add it later on during the incubation process. Spraying over rice doesn’t make the inside of the grain more than it is. That is why the “kashi” and “hinerimochi” are the very important process of preparing the substrate for koji making.
Marika Groen is the head of Malica Ferments, an online platform dedicated to fermented products. As a Kojiologist, traveler, brewer, photographer, and writer, she published the book "Cosy Koji" in 2021, offering insights into the art of Koji making based on her worldwide lectures and experiences.
