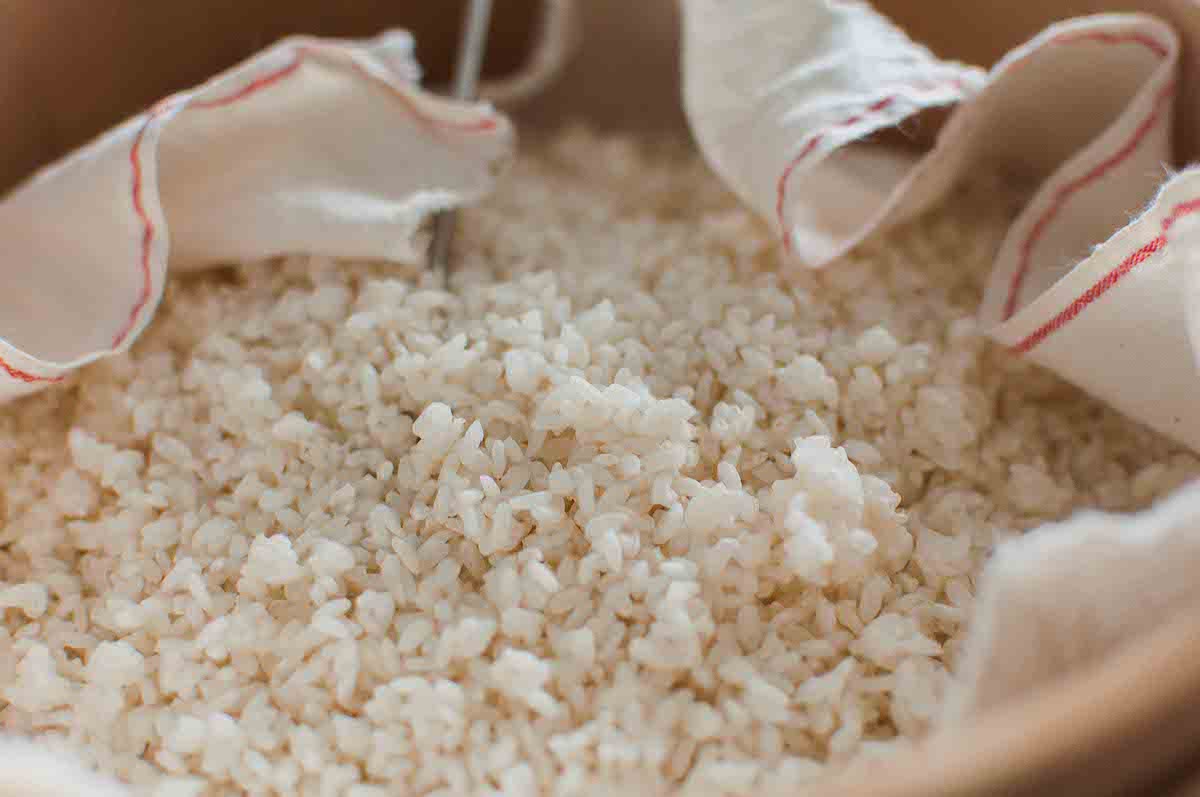
Some require a higher temperature and some lower. This is up to the type of tane-koji you choose, the temperature of your setting or environment you are working with, the moisture content of your substrate, the type of koji you are aiming to finish, and all of that communication can give you a clue how to carry out the whole process. So consider this is a general guideline and as you get on, you will be able to find your own way. It is important that you do it many times. As many times as you can, and take notes every time.
The record of timeline, temperature (both koji and heat setting), condition of rice, amount of rice and tane koji, everything you can think of would help your next challenge.
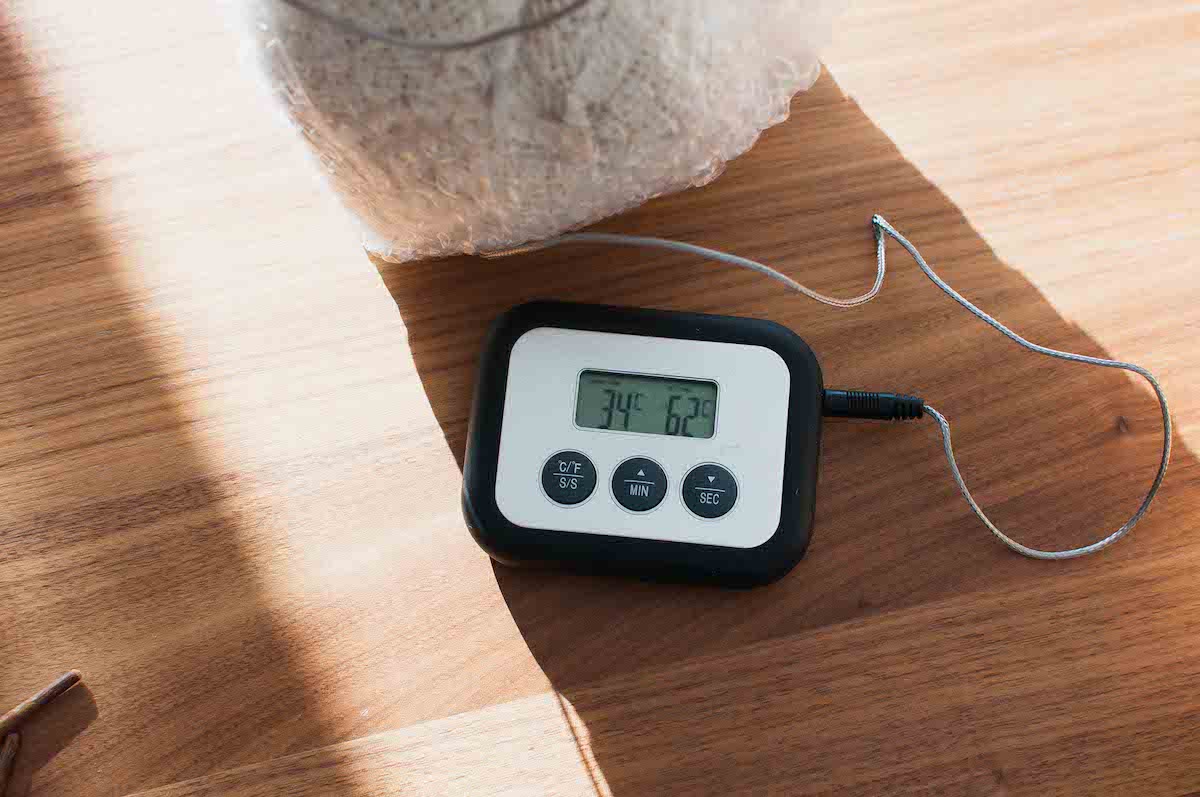
When koji-kin wakes up in your muro, they will start growing mycelia. That would generate heat on their own, so you will witness the slight rise in your thermometer. This may happen in around 12-24 hours from “tsutsumikomi”, and that’s the moment you’d want to finally open the wrap and check how your koji is doing.
When you open it, do not leave it open or your rice gets cooled down again and loses the moisture content. That might become too hard to recover if you take too much time at this point.
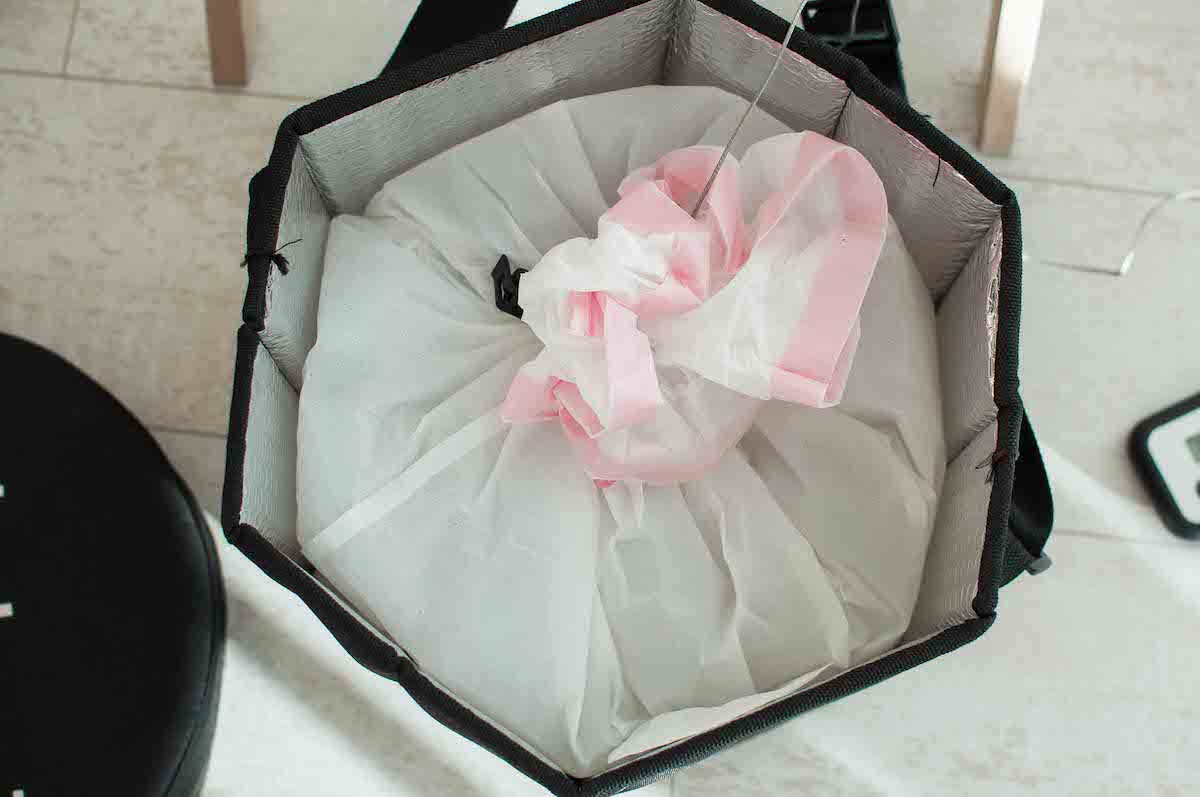
Open the wrap and quickly break up the lumps and stir thoroughly. This time you don’t need to wrap them back into a tight bundle of rice. Koji-kin woke up and now they need some air. Loosely wrap them and most probably you’d want to keep the plastic bag too, unless your koji is sweating too much but that’s more unlikely at this stage.
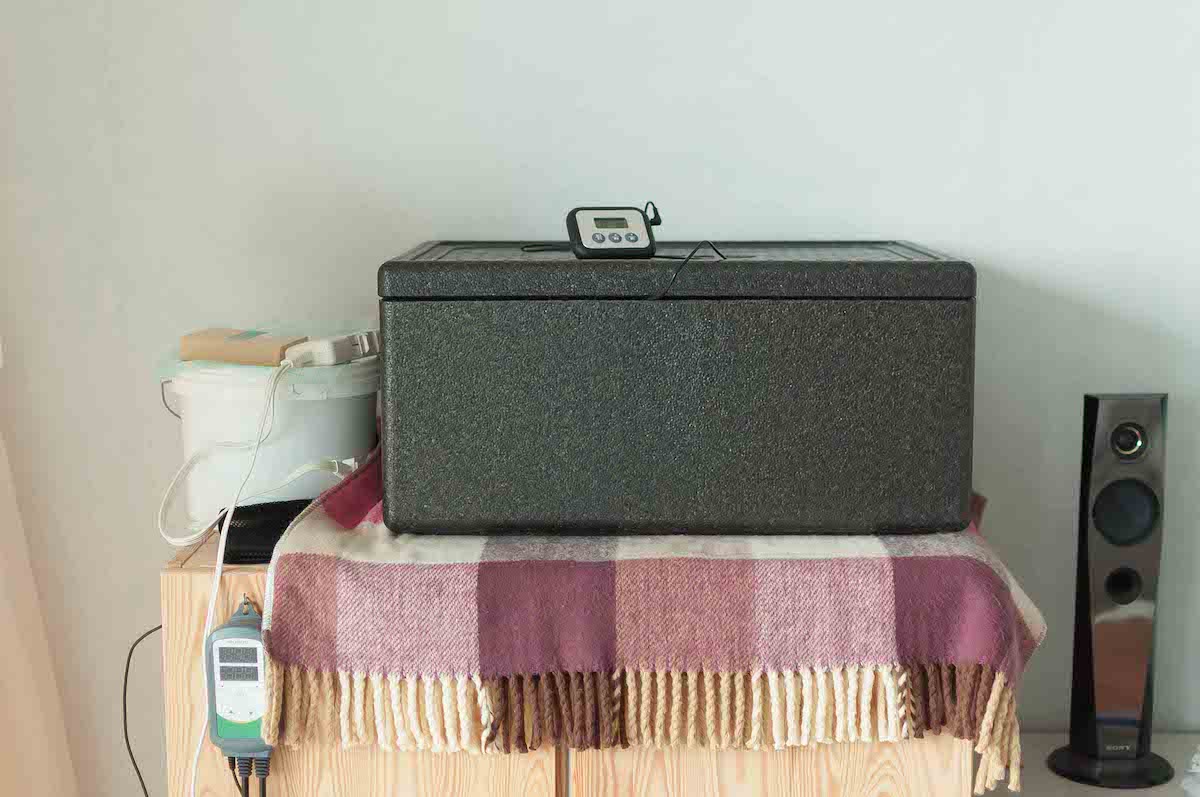
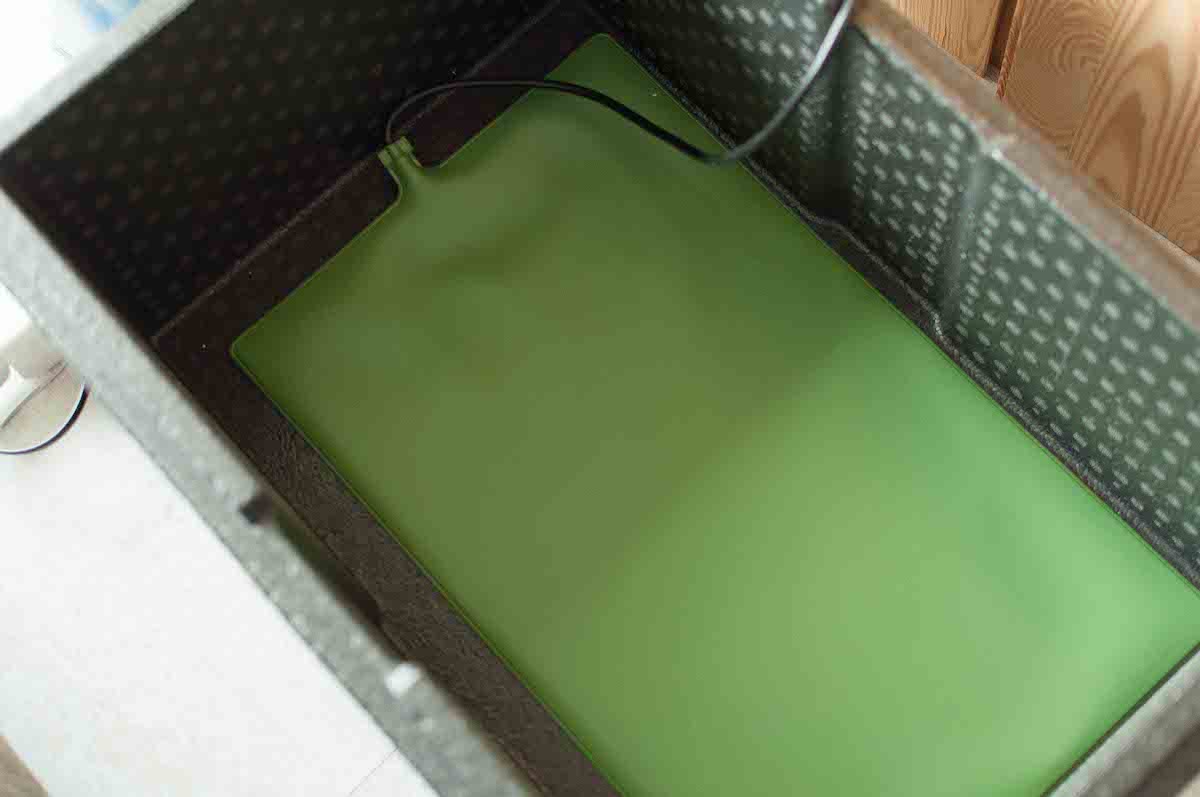
Put your wrapped koji back in muro, keep the same setting and monitor the temperature rises again. Your koji must have lost some heat while stirring, which means you broke the connection of the early stage of mycelia and they need to grow back. This should generate heat and this time slightly more than the last time, because now they breath air. With a little help of heat setting in your muro, koji will be able to warm up again to the optimal growing temperature, and from then on, they will keep growing more mycelia. This is why you will notice the temperature of koji is rising higher than the first stage of incubation. In the next 24 hours, you will notice koji tries to reach 40C/104F sometimes, which is one of the signs that you’d need to open up the wrap and stir it again. This mixing will be required a couple of times in the next 24 hours, depending on how fast your koji grows.
Another sign of mixing is the aroma. As koji grows, they will start producing a specific aroma. I can’t express how it smells but it is pleasant, some say floral, some say chestnutty, some say sweet – kind of aroma. Certainly not sour odor or any kind that suggests a different kind of microbial behaviour is taking place. In case you notice a hint of yeasty-smell, there is a possibility that your koji is suffocating a little. Make sure koji temp is high enough and open the wrap and give it a toss. Airing usually helps to reduce this and koji is back to normal state again.
The mixing I introduced in this chapter is called “teire” in Japanese. “te” means hands, and “teire” means giving hands. As this suggests, all you need to do is to give your hands to help koji-kin grow and watch over the process rather than trying to control.
This part is difficult at the beginning, as koji won’t let you control them before you learn from them. They have their own way to survive, and the first thing we can do is to learn that. After that, koji-kin will invite you to play around for more possibilities.
Be open and obedient. Koji will then open the door for you and be friendly to work with you.
