How to Make Koji 7: Harvesting and the Next
Last October, American food professionals visited fermented food producers to deepen their knowledge of Japanese fermentation culture during the “Hakko Tourism in Japan” tour campaign. As part of the tour, organizers held a tasting session where guests gave candid advice from the perspective of the American market to food product manufacturers looking to enter the United States market.
Now you have spent some days with your koji. How has it been? If this was your first time, I’m sure you reached out to some of your sleeping senses. In this chapter, I’ll talk about how to harvest koji, and what to do next depending on your purposes. If you are making koji from short grain table rice, your koji will most likely be ready in around 50 hours. Before you open the wrap, your nose should detect a gentle aroma of koji mold. The grains are covered in white, may have some hair grown on the surface, and taste slightly sweet when you bite them.
Another thing you can do is to check “Haze”. This is a step to check the penetration of mycelia. Pick up koji grains from a different part of the mat (top, bottom, sides) and cut them into half to see how the inner part looks like.
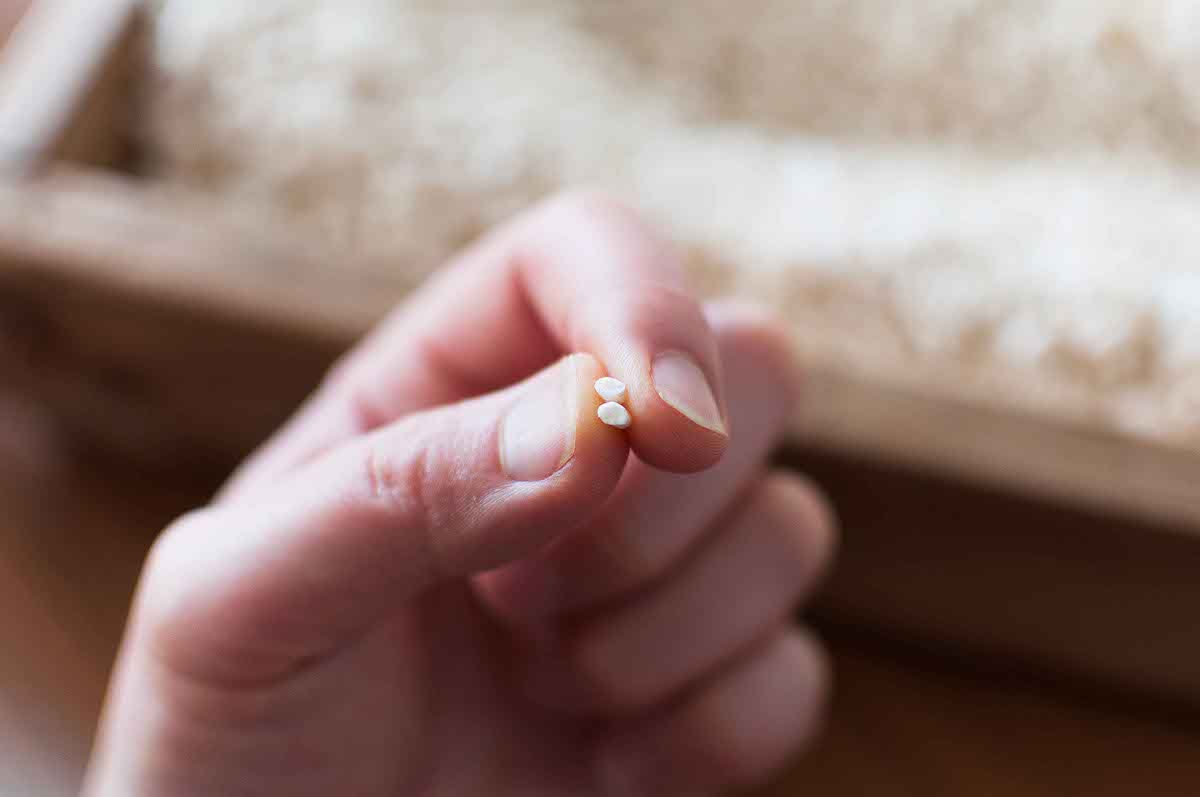
Cutting the grain into half and checking the penetration
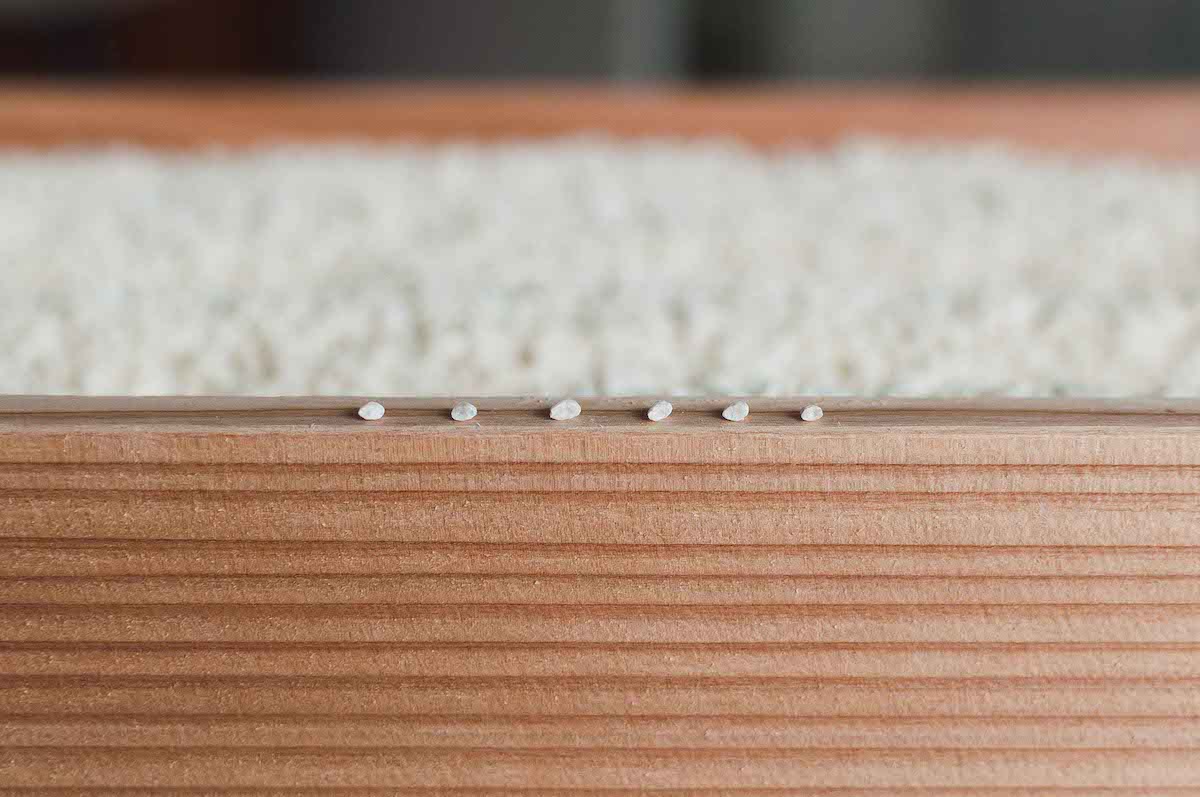
Comparing the result from a different part of koji bundle
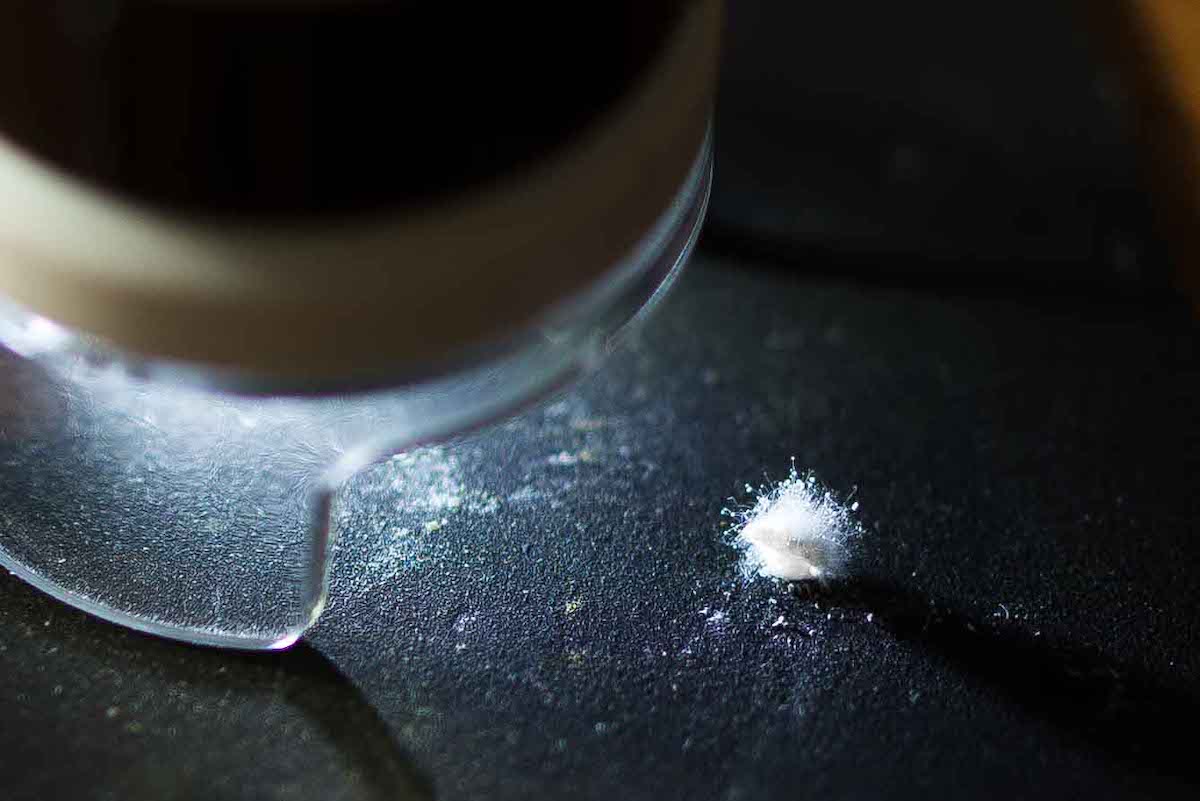
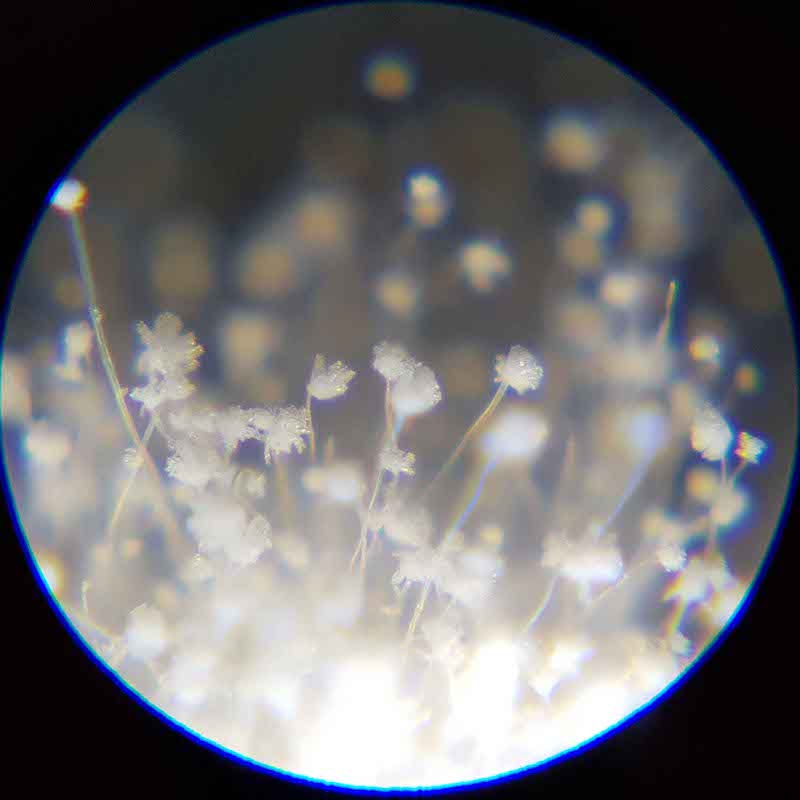
Koji flower field – aka Conidiophores of Aspergillus oryzae
After making sure that your koji is ripe, you can remove all of them from a container. If you plan to transport it soon, try to break it up in small blocks and let them lose the heat. This is better than breaking everything up. If you break up all grains, there would be less space between them, which may cause “after-heat” during the transport. Breaking in rough blocks ensures enough space between blocks, discouraging the koji mold to grow back again.
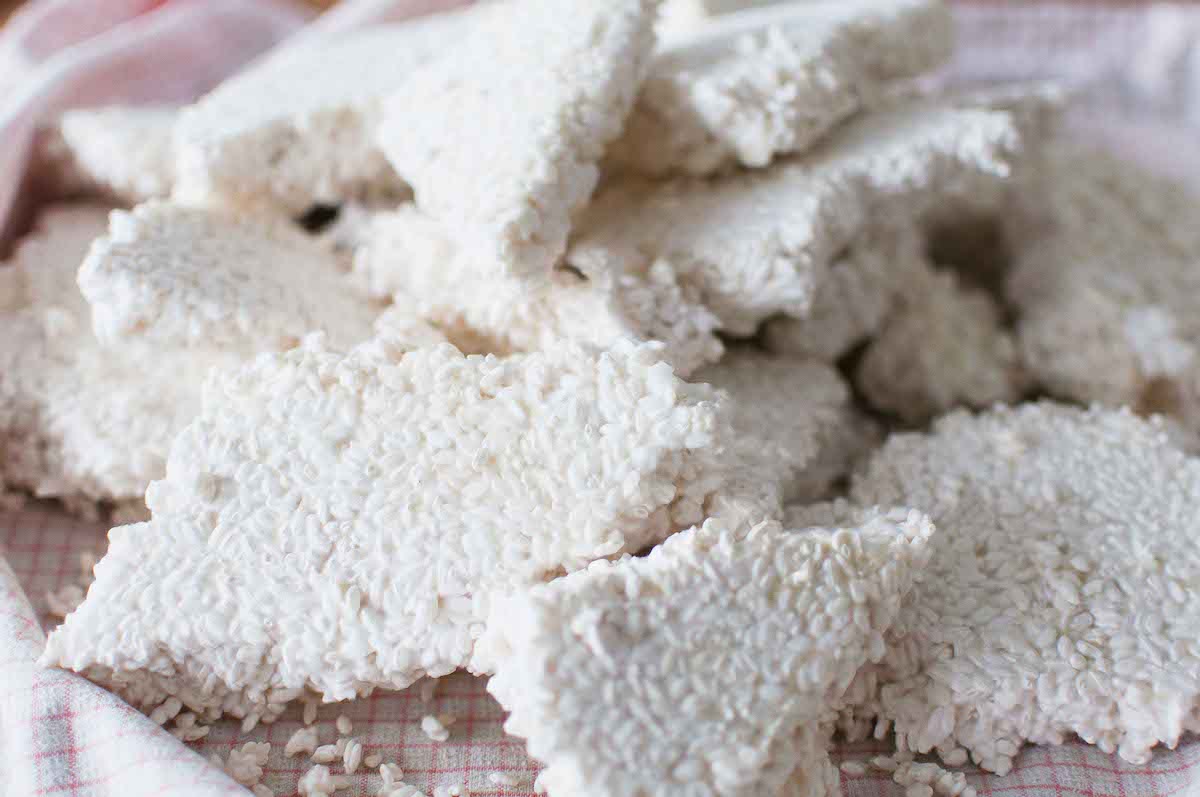
Breaking up in blocks to cool down

Typically in winter, you may keep them at room temperature for a couple of days, but the koji will keep on working as long as the grain contains some moisture. It is advisable to take this step called “Karashi”. “Karashi” is a dehydration in Japanese, and it literally means dehydrating koji grains before storage. Usually we break up all the small lumps, and spread them on a clean and dry cloth until the koji loses the power to heat up. In the meantime, the moisture would also evaporate and koji gets semi-dry and easy to store. I normally spread it out to a thickness of about 2 cm and then draw swirling circles around it with my fingers to increase the surface area.
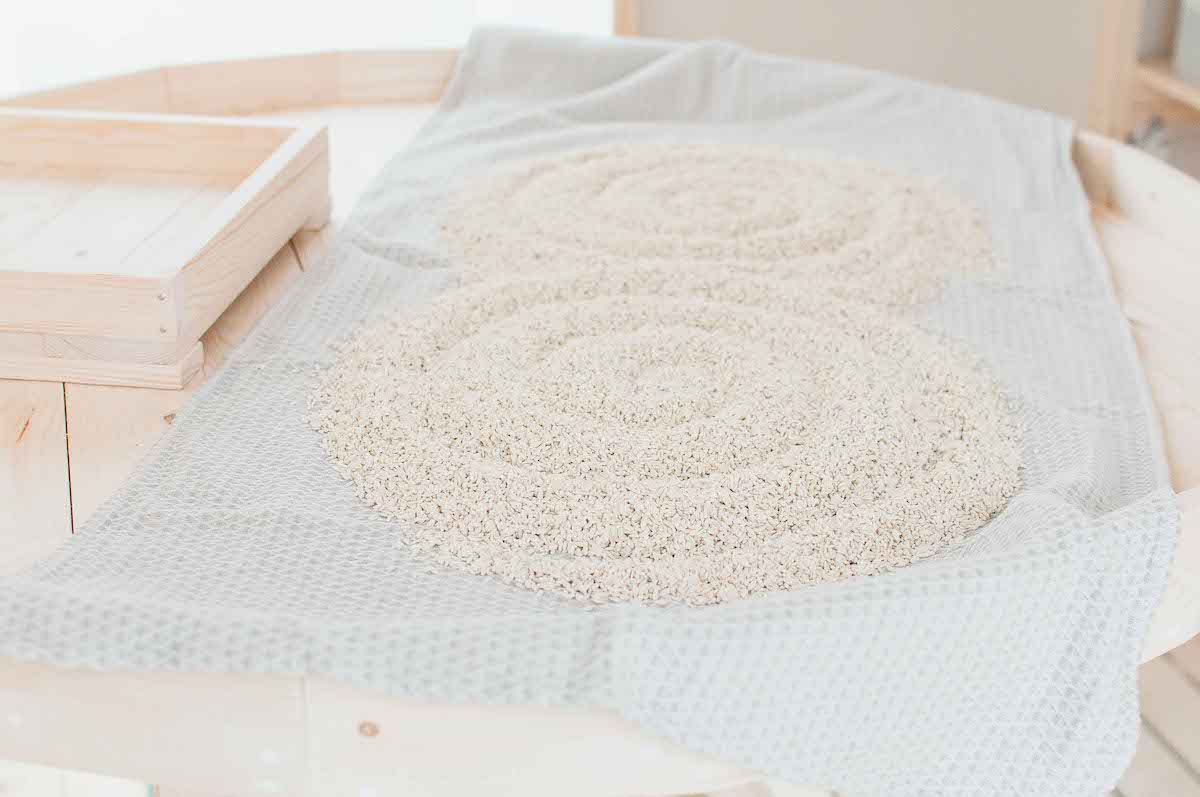
The swirl at the time of Karashi is also called Hanamichi
This is the end of “How to make Koji” series. I hope you enjoyed it. Remember that this is the most standard process of white rice koji making. If you opt for different substrates such as buckwheat, soybeans, barley etc, there is another story though the principle is the same. I hope you have some impression to start with, and put the essence from this series to practical use.
Marika Groen is the head of Malica Ferments, an online platform dedicated to fermented products. As a Kojiologist, traveler, brewer, photographer, and writer, she published the book "Cosy Koji" in 2021, offering insights into the art of Koji making based on her worldwide lectures and experiences.

