How to Make Koji 4: Inoculation to Start Incubation
Last October, American food professionals visited fermented food producers to deepen their knowledge of Japanese fermentation culture during the “Hakko Tourism in Japan” tour campaign. As part of the tour, organizers held a tasting session where guests gave candid advice from the perspective of the American market to food product manufacturers looking to enter the United States market.
Now, are you ready with your hinerimochi and tane-koji of your choice? (see my previous article.) Is your Muro ready to welcome your koji? Welcome to the club, now you can finally inoculate your precious tane-koji starter over your rice!
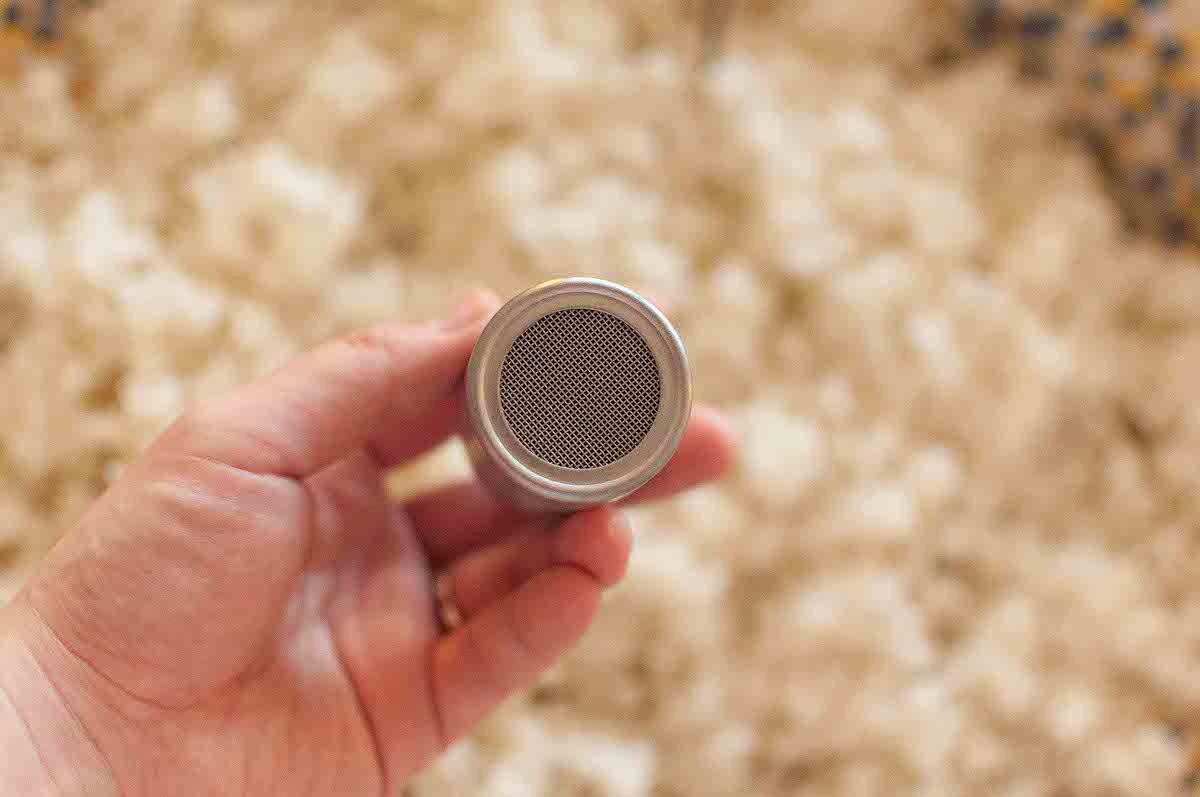
First thing you’d want to do, is to let your rice cool down to around 43C/110F. Remember the powder inside the bag of tane-koji are babies of koji-kin, so you have to be gentle with the heat to start waking them up. If you let them drop on the freshly steamed substrate, the surface would be over 100C/212F and koji-kin would faint before they wake up. By “wake up”, I mean that they sprout. Yes, tane-koji are just like seeds of vegetables or plants, first thing you need to do is to sow them onto the bed of soil – in this case, rice. By gently sprinkling the tane-koji over gently cooled (but still warm) rice, you wouldn’t burn tane-koji and you can successfully tuck them into their bed.


What happens if you let your rice temperature drop under 43C/110F? That’s not a huge disaster, but the reason why 43C/110F (or even 45C/113F sometimes) are recommended for the inoculation timing is that rice does get cooler and cooler while you are inoculating. The cooler they get, the drier they get. Moisture is the last thing you want to lose, as it’s one of the essential sources for koji to thrive. After all they are mold and the mold doesn’t grow on dry things.
Another reason why it’s good to start while rice is a bit warmer than your hand is, you’d probably end up with over 32C/90F when you are all done with inoculating. This is good, because below 32C/90F doesn’t only mean that your rice lost a lot of moisture but also means you took too much time to inoculate and any other microbes present in your environment could have had enough time to jump on cold and wet surface of rice. You would make your best effort to avoid this, unless you are working in a dedicated clean room (like tane-koji or pro koji-makers have).
So in short, for time, contamination and optimal moisture level, you’d better off start inoculating while rice is still nice and warm.


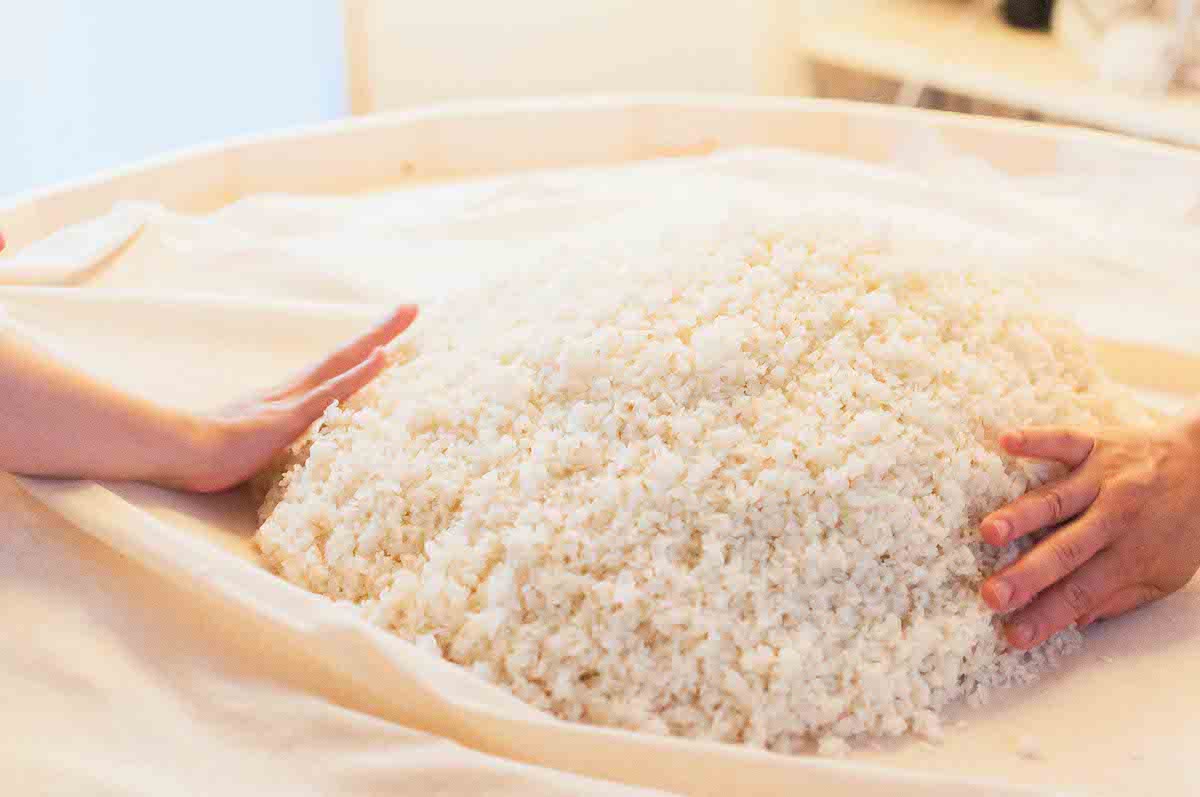
Do not inoculate everything at once, it’s ideal to mix your substrate while inoculating your tane-koji in batches. It is important to give a chance for every single grain to catch one spore at least. Some people stir their rice three to four times, making sure every block of rice is moved around so there won’t be any part that is left out. While stirring, make sure to separate grains from sticking together, as it may leave some uninoculated grains.
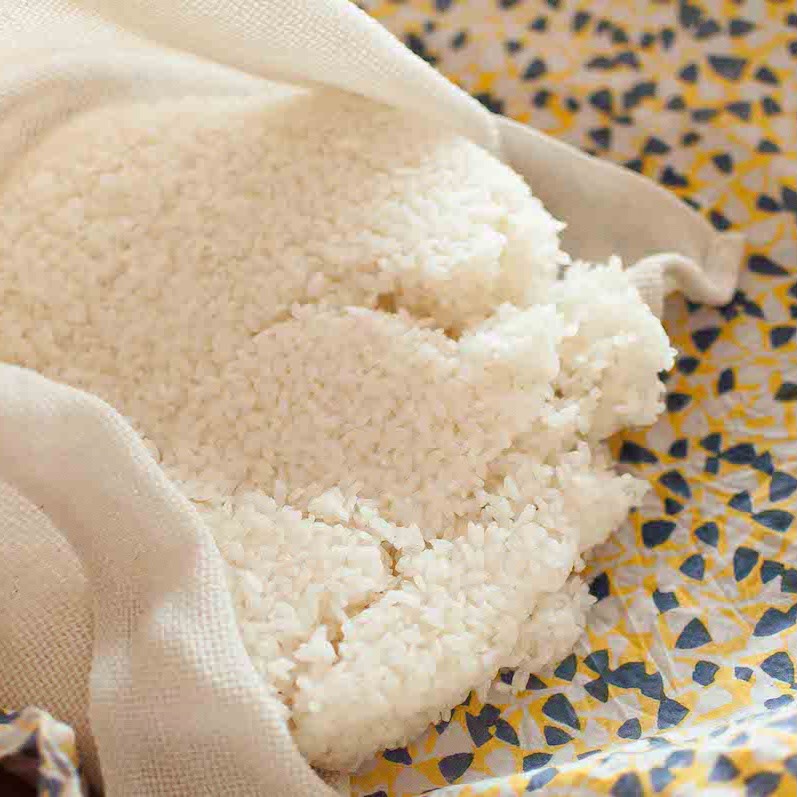
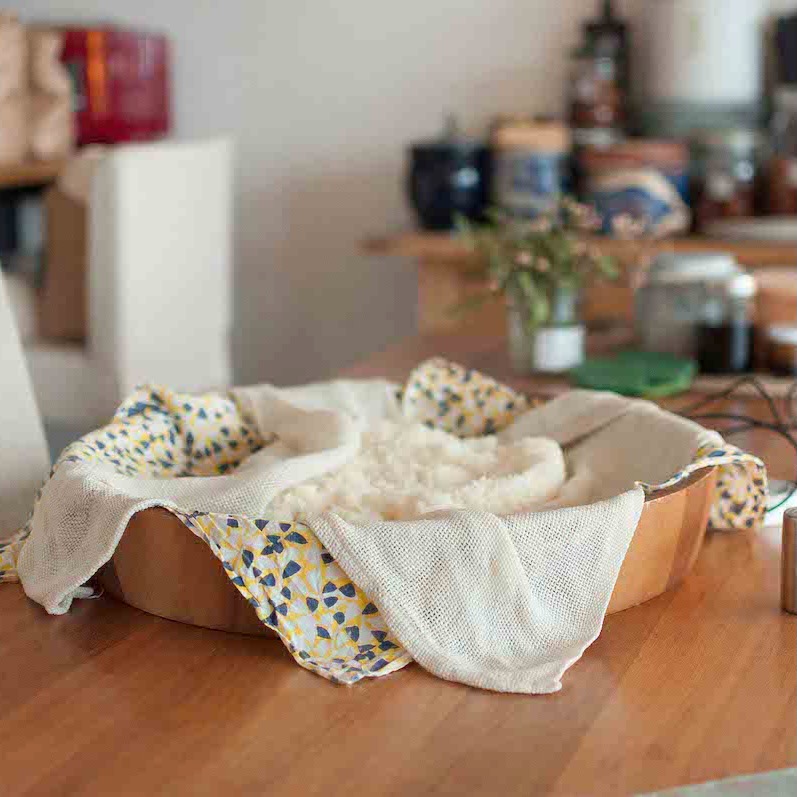
Once you are done with inoculation, quickly wrap the rice into one huge bundle. Wrap it in a cloth that is clean and not too thick. If the cloth is too thick, it would take away the moisture from the rice. If too wet, it might encourage bacteria to grow before koji-kin germinates. This you will have to experiment several times until you find the best match of your cloth and rice you are working with.

This is the moment your incubation starts. Check our clock and monitor the progress by hour count. This step to wrap your rice and start incubation is called “tsutsumikomi” or “hikikomi”, depending on the volume. Refer to the previous article for the desirable condition of incubation box to set up your own muro.

Marika Groen is the head of Malica Ferments, an online platform dedicated to fermented products. As a Kojiologist, traveler, brewer, photographer, and writer, she published the book "Cosy Koji" in 2021, offering insights into the art of Koji making based on her worldwide lectures and experiences.

