How to Make Koji 6: a Guide to Incubation
Last October, American food professionals visited fermented food producers to deepen their knowledge of Japanese fermentation culture during the “Hakko Tourism in Japan” tour campaign. As part of the tour, organizers held a tasting session where guests gave candid advice from the perspective of the American market to food product manufacturers looking to enter the United States market.
In the previous article, your koji was broken up and put back in your muro. You are now observing the process of their growth.
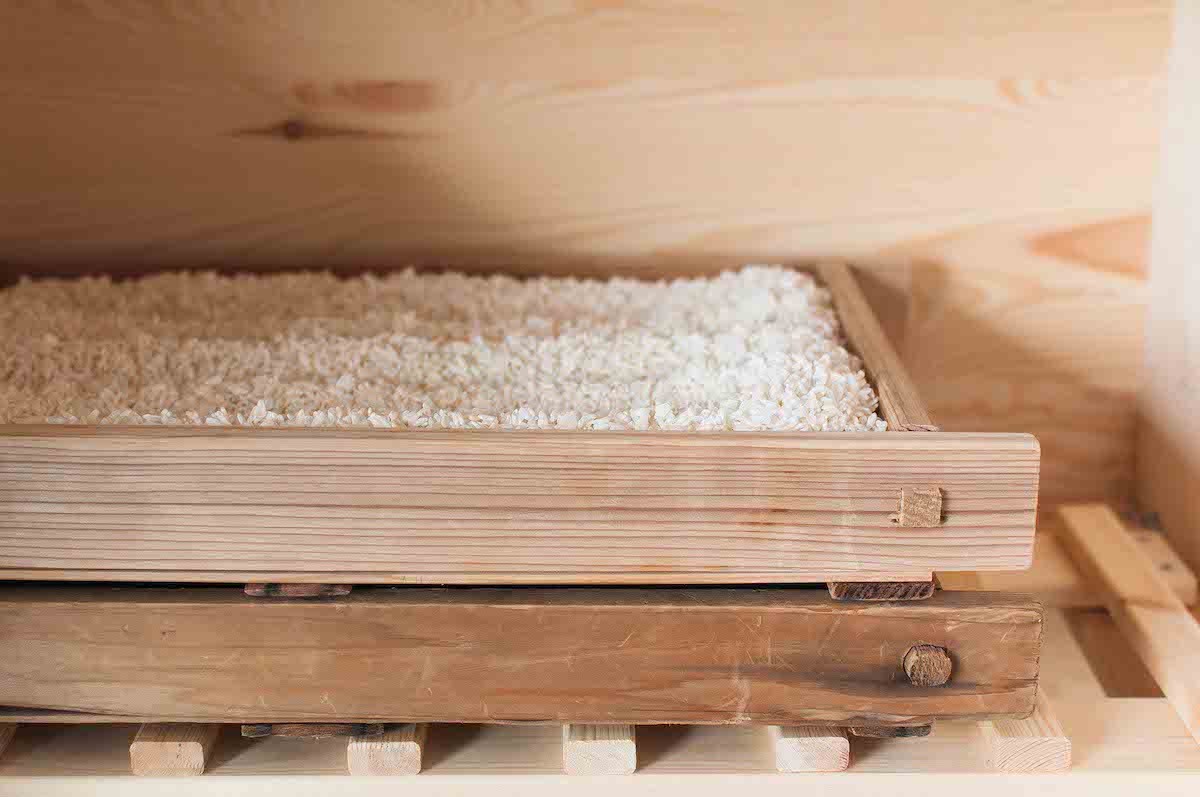
As I mentioned in the article, koji “wakes up” in the first 12-24 hours from tstsumikomi, and that’s when they start asking for some air. When you opened the wrap last time, likely you transferred your koji rice onto some kind of trays. Or you may have decided to keep it in the plastic bag. Either way, you will need a tray at some point, so you are able to spread out koji to give more surface area to access to air as well as releasing its own heat and excess moisture. You can also try a salad spinner (posted in another article.)
Once transferred to a tray, koji bundle is loosened and they have better access to the air. At the same time, you must be careful not to spread them too thin from the early stage. Koji mold needs moisture to propagate first before requiring the air. The tighter you pack the koji the more humid between rice grains is, which is good for the initial stage of mold growth. Then you can slightly spread the bundle in the next teire (mixing), and even more in the next one. Of course, this decision must be made according to the actual condition of the koji at that time. If you notice the weak growth, you must doubt the possibility of lack of moisture (and lack of humidity) or lack of heating support. Maybe your rice wasn’t prepared properly (not steeped or steamed long enough etc) or tane-koji used was too little or too old. Anything is possible, but if the moisture of the rice was the reason, you must wait with spreading them too early. Wait until you confirm enough signs of propagation (aroma, white spots on the grain, still-soft-texture of the rice, taste of rice is getting slightly sweeter than just after steaming etc).
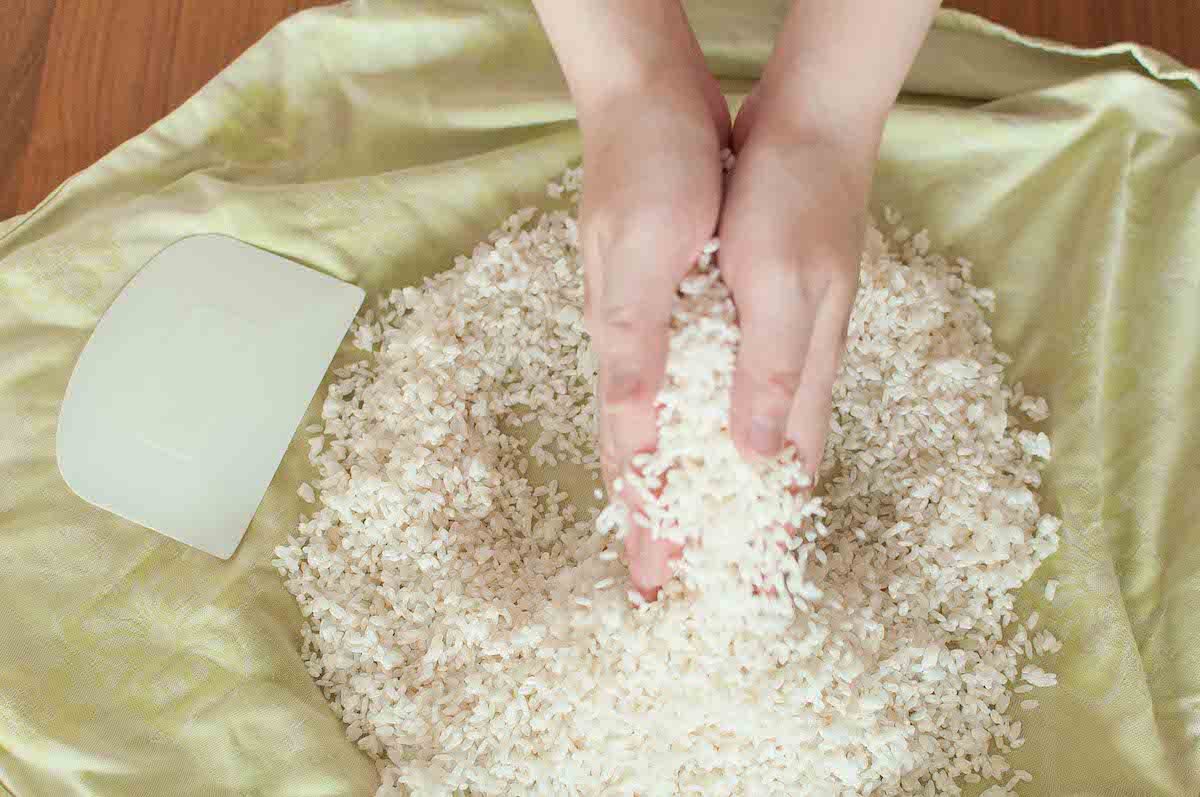
Breaking up lumps of koji
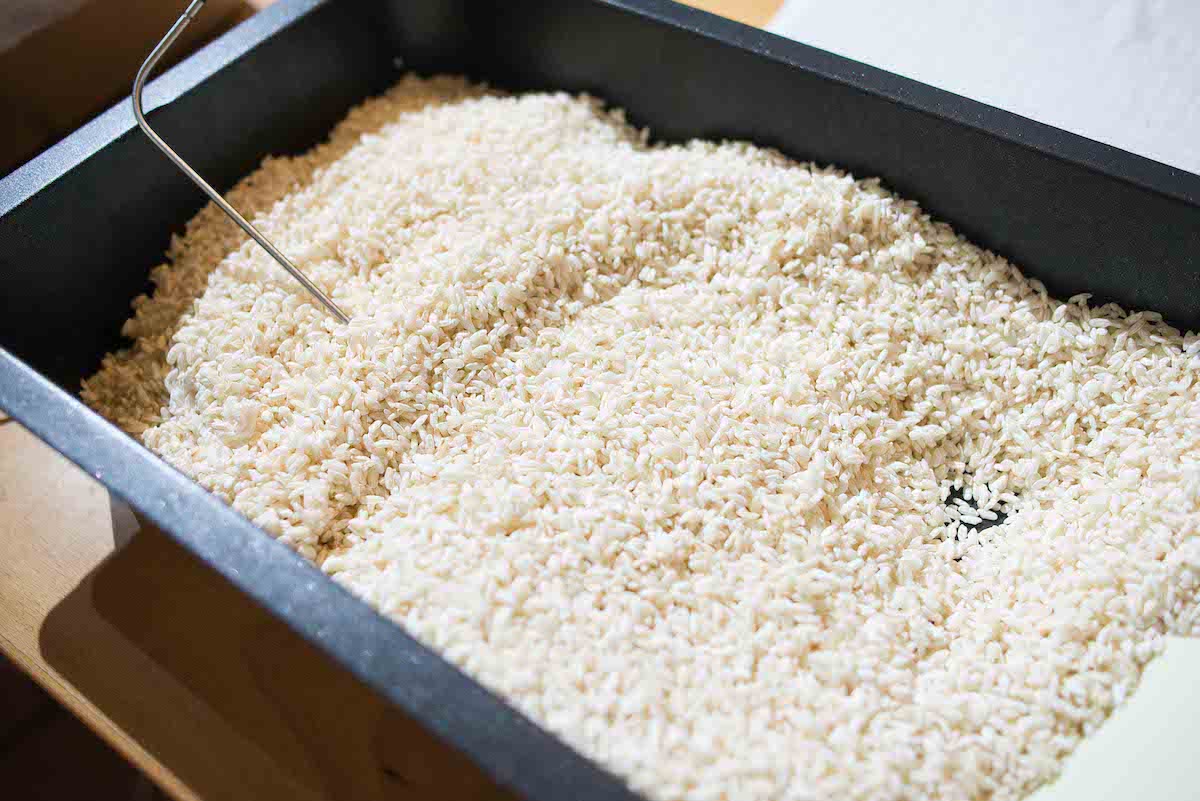
At first, pile up koji thick enough so the moisture can be kept
- Mori (mix and make a mound of koji rice on a tray)
- Naka-shigoto (mix and spread koji on a tray)
- Shimai-shigoto (mix and spread koji more on a tray)
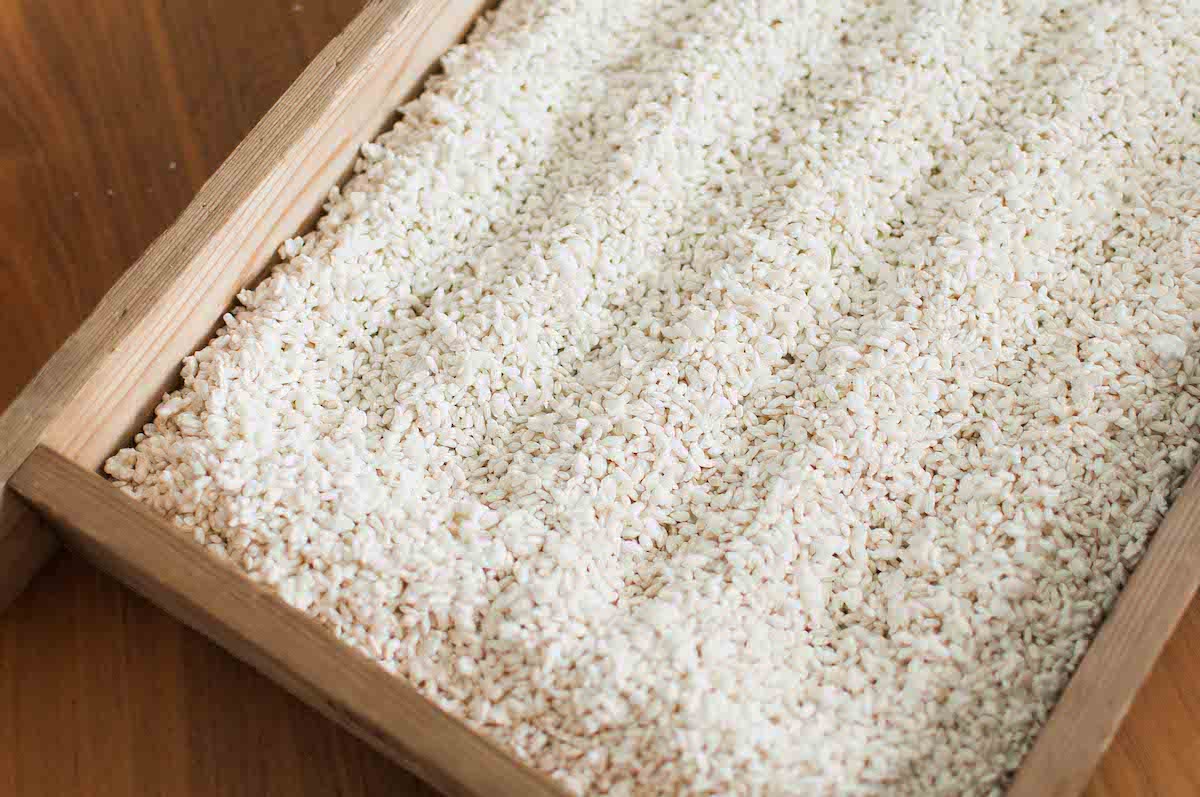
At the end increase the surface area. Making hanamachi
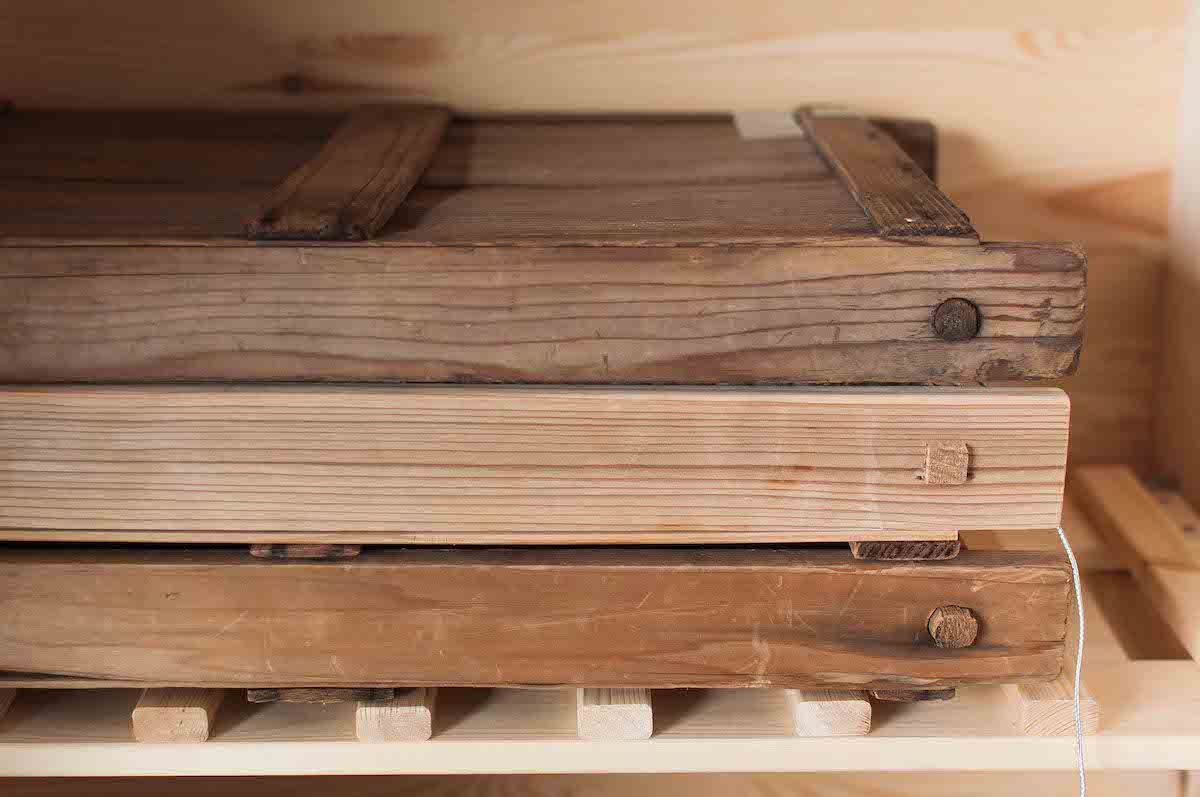
First you are covering koji with a lid
At the and remove the lid
The entire process to make koji from tsutsumikomi to finish generally takes about 48 hours, but you should not tie to this number without thinking. Some require less, some require more. The number of hours is given only to indicate the average, and to give you an idea that 100 hours is too long, for example. Still, the longer the more chance of contamination risk, but as long as you keep the general cleanliness, you could spend another day (72 hours) to grow koji gently.
This is all up to the koji’s growth, how you work with koji, depending on the condition of rice, type of tane-koji (which usually comes with instructions from the producer), your set-up, environmental humidity, etc. In short, practice it all year.
Marika Groen is the head of Malica Ferments, an online platform dedicated to fermented products. As a Kojiologist, traveler, brewer, photographer, and writer, she published the book "Cosy Koji" in 2021, offering insights into the art of Koji making based on her worldwide lectures and experiences.

